
Sign up for the Bloxels newsletter to stay up-to-date on the latest news, features, and promotions.
Create an Avatar
Creating an avatar
A perfect first activity for teachers and students who are new to Bloxels.
DURATION: 30 Minutes
MATERIALS: Sketch grids, Markers, Bloxels Boards and Blocks
Anything can be an avatar
There's no wrong way to create an avatar, and many students will naturally figure out how to do it. But to make this exercise a little more intentional, here are some ideas to bring to the activity:
- Have students make a list of their personality traits and/or things that they like. Once this is done, they can then begin to turn one or more items from that list into a sketch that represents them.
- When they have a sketch/idea that they are happy with, it’s now time to pull out the sketch grids and markers to turn the sketch into a 13x13 piece of pixel art that can be built on the Bloxels board.
- After that, have the students build their art on the Gameboard and then bring it into the Bloxels EDU app (as a character) via the camera on the mobile device. Their avatar can be further edited in the app to change colors or fix any mistakes.
- Once they’re finished, the pixel art can be used as their very own avatar for their Bloxels EDU profile.
Prompts
Brainstorm
What about you makes you unique? What do you love more than anything? Make a list of things that make you YOU.
Sketch
Now, what on that list will make a fun, funny, or cool image? Do you love hot dogs more than anything on the planet? Then sketch some hot dogs. Do you wish you were a superhero? Draw yourself in your superhero costume.
Sketch Grid
Now that you’ve got your sketch, it’s time to simplify it into pixel art. Use the sketch grids to pixelize your sketch. Don’t be afraid to mess up! That’s the point of this step. It usually takes a few tries to turn a sketch into the perfect piece of pixel art.
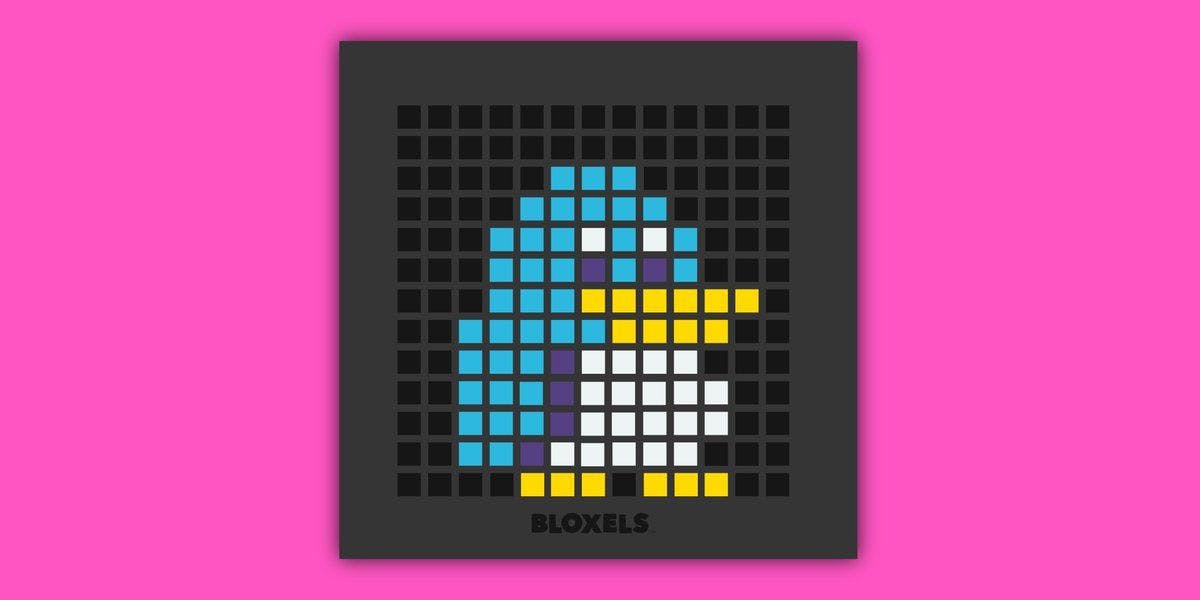
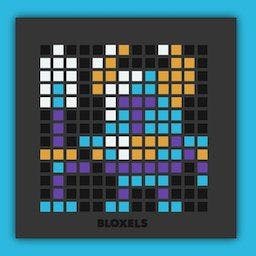
Bloxels Board
Using your finished sketch grid pixel art drawing, take the blocks and build it on the Gameboard. At this point it should be as simple as copying what you’ve already made on the paper.
Capture
Once built, you can bring it into the Bloxels EDU app by capturing the Gameboard on your mobile device. Make sure you capture it using the ‘Character Builder’ mode. Only characters can be used as avatars in Bloxels EDU.
Editing
The Bloxels EDU app can be used to edit your captured avatar Gameboard. You can change colors, move blocks around, add or subtract blocks, and fix any mistakes you may have made. This step is where you make sure everything is exactly the way you want it. When you’re done you should have a finished avatar.
Last step: Set Your Avatar
Now all you have to do is actually make it your avatar! Just tap on the current avatar being used to bring up the menu. Once the menu is in view, tap the avatar image again to bring up a list of all of your characters. Find the character you just built and tap it! Now it’s your avatar!